
How to print digital art: from file to finished piece

Every step of turning a digital file into a print you can hold, from picking the right process to finding a printer who won’t ruin your colors.
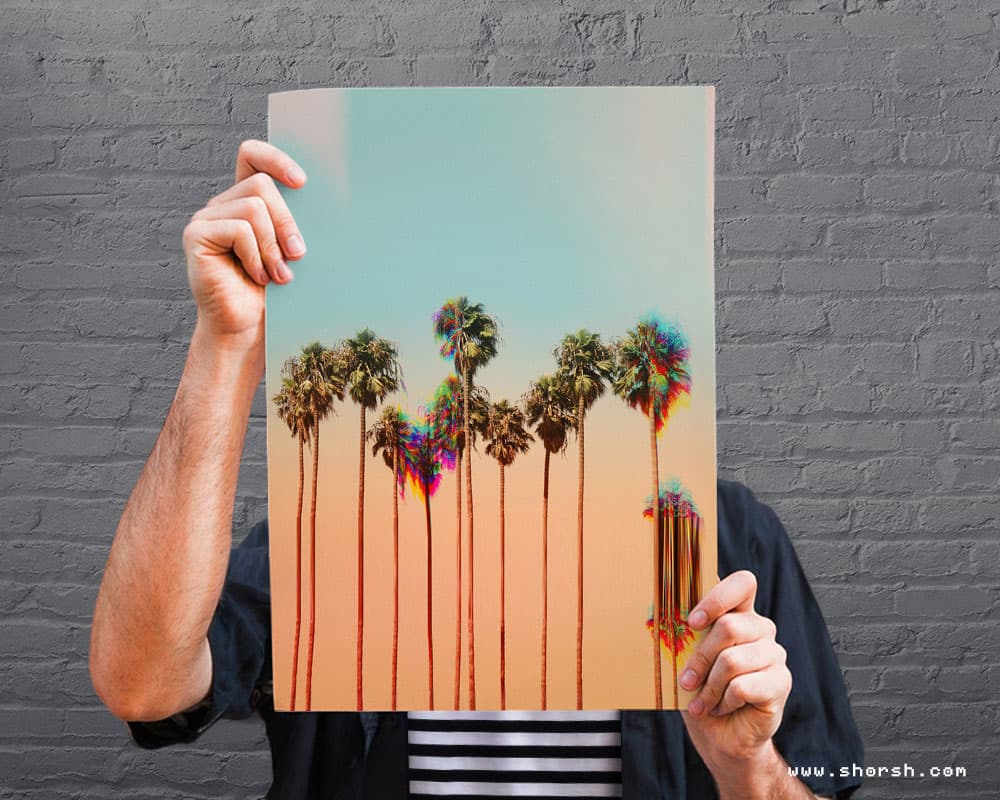
Learning how to print digital art is mostly about what you do before you hit export, not the printer itself. I learned that the hard way. My first prints looked perfect on screen and came out muddy on paper. One poster came back with half an inch cropped off one side. This guide covers what I wish someone had told me first. Picking a process, prepping the file, and finding a printer you can trust.
Why printing digital art feels different from a file
A digital file only exists on a screen until you print it. The moment you hold a physical copy, something shifts. Paper has weight, texture under your fingers, a size you can stand next to. It also holds still. A screen looks different depending on the light in the room; a print always looks the same.
Pick a method for printing digital art
Giclée printing uses archival inks on heavier paper. I reach for it when a piece needs to hold its color for decades. Gallery work, fine art editions, anything meant to last. Digital printing is faster and cheaper, better suited to posters, postcards, or a run of merchandise. Turnaround time matters more than perfect longevity here. Screen printing is its own animal: bold, textured, a little unpredictable in a good way. I’d choose it for a small batch of something meant to feel handmade rather than precise.
Match the method to what the piece is actually for. A one-off gift and a hundred-unit print run call for different processes, even if the artwork is identical.
Get the file ready before you print anything
Set your resolution to at least 300 dpi. Anything lower and the print looks soft, especially in fine linework or small text.
Switch your color profile to CMYK before you finalize anything. RGB looks brighter on screen than it ever will on paper, and that gap catches almost everyone the first time.
Add bleed, extra image past the edge of your file. That way a shifted trim line doesn’t cut into anything important. I add at least 3mm on every side now. It’s a habit since I lost part of a signature to a bad trim early on.
Ask for a proof before committing to a full run. A physical or digital proof is the only reliable way to see how your colors actually translated. Catching a problem there costs a few dollars instead of an entire print run.
Choose paper for how it will feel, not just how it looks
Heavier stock feels more substantial the moment someone picks it up, and it holds up better over time. Smooth paper keeps fine linework crisp. Textured paper adds a tactile quality that suits looser, painterly pieces. Matte finish feels quieter and more traditional; glossy adds punch and works well for anything bright or graphic.
If you’re planning to frame and display the print, these five ideas for decorating with art are worth a look. That’s useful once you’ve got paper and finish sorted.
Find a print shop that treats your file like it matters
Look for a print studio with actual samples, not just a price list. Ask what they’ll do if the proof doesn’t match, and pay attention to how they answer. A shop used to working with artists will walk you through resolution and bleed without you needing to ask. One that isn’t might just print whatever you upload and hope for the best.
What happens once you print your digital art
The first time you hold your own print, it changes how you think about the piece. It’s no longer just a file in a folder; it’s an object someone can hang, gift, or buy. Try more than one paper and finish before you settle on a favorite. Frame a piece for your own wall, or offer a small limited run and see how people respond.
What’s the best way to prepare digital art for print?
Set your file to 300 dpi, switch to CMYK, and expect your colors to shift, especially in saturated digital hues. Soft-proofing in Photoshop or your illustration software gives you a preview before you commit. Add a bleed area of about 3mm. If the run matters, print one sample copy first so you catch surprises before the full run.
Can I start selling prints as a beginner?
Yes. Start small: a handful of pieces you’re proud of, photographed in real settings rather than flat on a scanner. That way buyers can see the scale and texture. Early buyers are also your best source of honest feedback on paper choice and packaging. Etsy and Printify are common starting points, along with local shops or pop-up events if you’d rather sell in person.
Every time you print digital art, you learn something the file alone couldn’t show you. If you want to see where mine end up, my full collection is in the Shop.
Can I start selling my art prints as a beginner?
Yes. Start small: a handful of pieces you’re proud of, photographed in real settings rather than flat on a scanner. That way buyers can see the scale and texture. Early buyers are also your best source of honest feedback on paper choice and packaging. Etsy and Printify are common starting points, along with local shops or pop-up events if you’d rather sell in person.
Every time you print digital art, you learn something the file alone couldn’t show you. If you want to see where mine end up, my full collection is in the Shop.