
How to make a moodboard before you start a project

Three parts to how to make a moodboard that actually holds a project together: keywords first, then images, then arrangement.
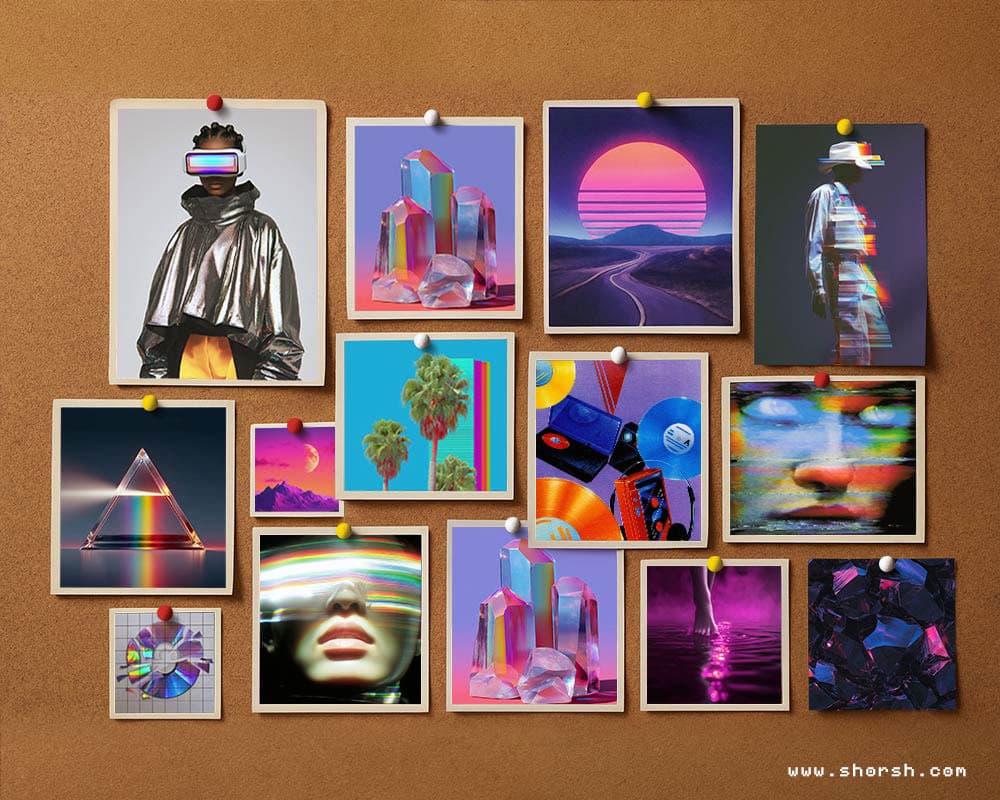
This is how to make a mood board that shapes a project instead of just decorating a folder. A moodboard is a collage of images, colors, textures, and text. Together they pin down the mood or direction of a project before anything else starts. Designers use them for fashion, interiors, graphic work, film, basically anywhere. Anywhere a visual direction needs to exist before the real work begins.
What a moodboard actually is
It’s a reference point, not a finished piece, something to keep the whole project pointed in one direction. Without one, a project can drift. Colors shift halfway through, references stop matching, and nobody quite agrees on the tone anymore. A single moodboard, made before anything else, solves most of that in advance. It’s the cheapest insurance a project has, which is really the whole case for learning how to make a moodboard.
How to make a moodboard: start with keywords, not images
Before collecting a single image, write down what the project needs to feel like. Three or four words are usually enough: warm, rustic, weathered, quiet, whatever actually describes the thing. Those words become the filter for everything that comes next. If an image doesn’t match at least one of them, it doesn’t belong on the board.
Collect images from more than one place
Pinterest, Behance, and Instagram cover most of it. But they also flatten everything into the same algorithmic look after a while. Magazines and books break that pattern, and scanning or photographing a page still counts as a legitimate source. I keep color palette references in the same folder as photos and textures, no separate system. Nothing here needs to be original, drifting off into unrelated references for a while usually turns up something useful anyway.
How to make a moodboard stick: put it together and step back
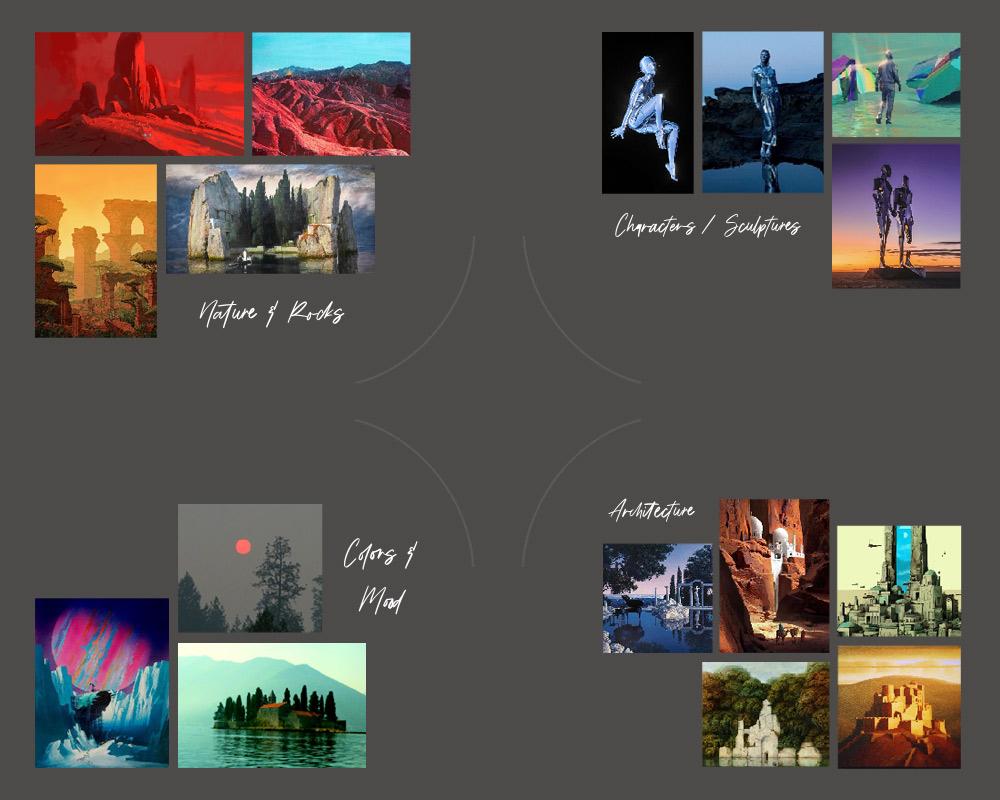
Once you’ve collected the images, arrange the strongest ones first, near the center, and build outward from there. Canva, Adobe Spark, and Milanote all work for a digital board. A corkboard or a sketchbook page works just as well for a physical one. Group similar images together, then step back. Check whether the whole thing still reads as one idea instead of a pile of references.
That’s most of how to make a moodboard, three parts: words, images, arrangement, in that order. Once it’s set, the colors and textures you picked usually end up shaping the actual piece more than you’d expect. That same instinct for color carries over into painting itself. That’s where flow state actually shows up for me.
STEP 3. Organize and Assemble Your Mood Board.
Last, with a collection of images at hand, the final step is to organize and assemble your mood board. This step involves arranging your visuals in a way that clearly communicates the mood and direction of your project.
How to Organize and Assemble Your Mood Board:
- Choose a Format: Decide whether you want to create a physical or digital mood board. For digital mood boards, tools like Canva, Adobe Spark, and Milanote offer user-friendly interfaces for assembling your images. For physical mood boards, you can use a large poster board, corkboard, or even a sketchbook.
- Arrange Your Images: Start by placing your most important images in the center or at focal points on your board. Arrange the remaining images around them, paying attention to composition and balance. Group similar images together to create a cohesive look.
- Refine Your Board: Once your images are arranged, take a step back and review your mood board. Make any necessary adjustments to ensure that the overall composition is visually appealing and effectively conveys your intended mood. Add any final touches, such as notes or keywords, to enhance clarity.
In simple lines: creating a mood board is a valuable exercise for any creative project. It helps you visualize your ideas, refine your aesthetic direction, and communicate your vision clearly. By following these three simple steps, defining keywords and subjects, finding and collecting images, and organizing and assembling your mood board, you can craft a mood board that serves as a powerful tool in your creative process. Once your mood board is defined, you can further refine your investigation by paying attention to the colors, formats, and textures that you want to include in your project.
Happy creating!
Discover how painting can get you into a flow state that digital work never quite reaches, at least for me 😉